Showing posts with label food. Show all posts

Saturday, June 22, 2013

"Cheesy" Dehydrated Vegan Kale Chips - DIY

I'm addicted to kale chips.
But I really want to make them at home.  I couldn't spend $8 on 3 oz of kale chips anymore :(

For a while I baked kale chips in my oven-- at 170 degrees F for 2 hours.  Some came out burnt.  Some recipes recommend baking at 350F for 10-20 min and uses olive oil to help crisp, and I don't find this version satisfying.  Feels like I'm eating a kale flavored puff of air :(

Luckily one of my awesome coworkers decided to gift me her dehydrator that she doesn't use.  And it's changed everything about kale chips.

Chips come out not burnt. Crispy, full of flavor, and with all the nutrients of the raw veggie.
Kale is full of awesome nutrients, and dehydrating it at a low temperature allows for all nutrients to remain potent.

REQUIRED INGREDIENTS/EQUIPMENT
- Dehydrator (a MUST if you want to get these exact results. (THIS GUY has great ratings on Amazon)
- Kale of your choice.  I chose really curly ones. I like the way they look.
- Nutritional Yeast -- I.. had no idea what this was until I started researching how off-the-shelf kale chips were used.  I'm not Vegan, but apparently nutritional yeast is often used in Vegan recipes to provide a "cheesy" flavor.  And it does! And it's got some benefits.  
- Ground cashews, or even cashew butter.  This will give more substance to your kale chips so they aren't super thin pieces of dehydrated veggies.  I get my raw, fresh-ground cashew butter from Whole Foods. It's also available in jars.  I really like the fresh ground kind from Whole Foods-- the texture is perfectly chunky for this.  Nut butters in jars tend to be quite smooth, from my experience.  Whatever floats your boat, though.
- Seasoning (salt, pepper, herbs... etc.) I'll talk about what I used for flavoring.
- Water
- Large bowl, for mixing kale with the dressing.

So this is what nutritional yeast looks like:
I get mine in the bulk section at Whole Foods.  Relatively cheap.

STEP 1 : Make your nut butter "dressing"
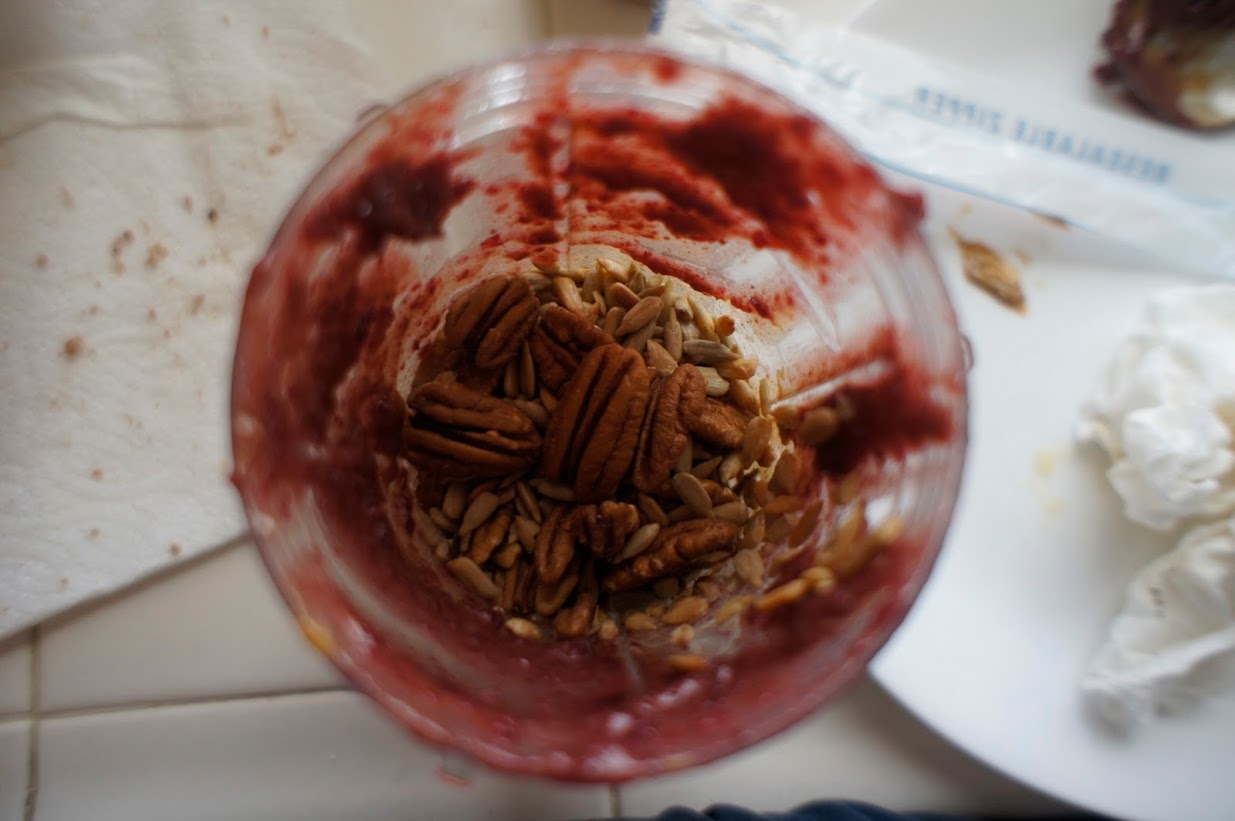
I took about 6 oz of ground raw cashew butter, added approx. 3/4-1 cup water, 1 Tbsp each of basil and oregano, 1 tsp smoked paprika, 1/2 tsp of chipotle powder, 1/2 tsp each of sale and pepper and mixed it all together to form a paste.  Paste should be pretty thick. Start with 1/2 cup water and keep adding until it comes together like wet sand. Set aside.
Sorry if that looks gross.  I had just recently dunked my fingers in there.

STEP 2: Prepare Kale
No special equipment needed.  Rinse.  Rips off pieces from the stem with your hands, stick it in a large bowl.  
 I've got a knife in this photo but I didn't use it to prepare the kale pieces.

You don't have to be really precise with this step.

STEP 3: Mix Kale and Dressing
Using your hands, rub in the thick dressing mixture into the kale pieces.  I've tried not using my hands, using everything else but I swear hands work best.  And yes, you're going to get cashew paste all over your hands but who cares, you're in the kitchen.  Rub so that a thing layer of the dressing has more or less evenly covered the kale pieces.
Small chunks of cashew paste here and there is fine.  Break up any larger than pea size chunks or else you may have dehydrating inconsistency.

STEP 4: Dehydrate
Fill the layers of your dehydrator with dressed up kale. 

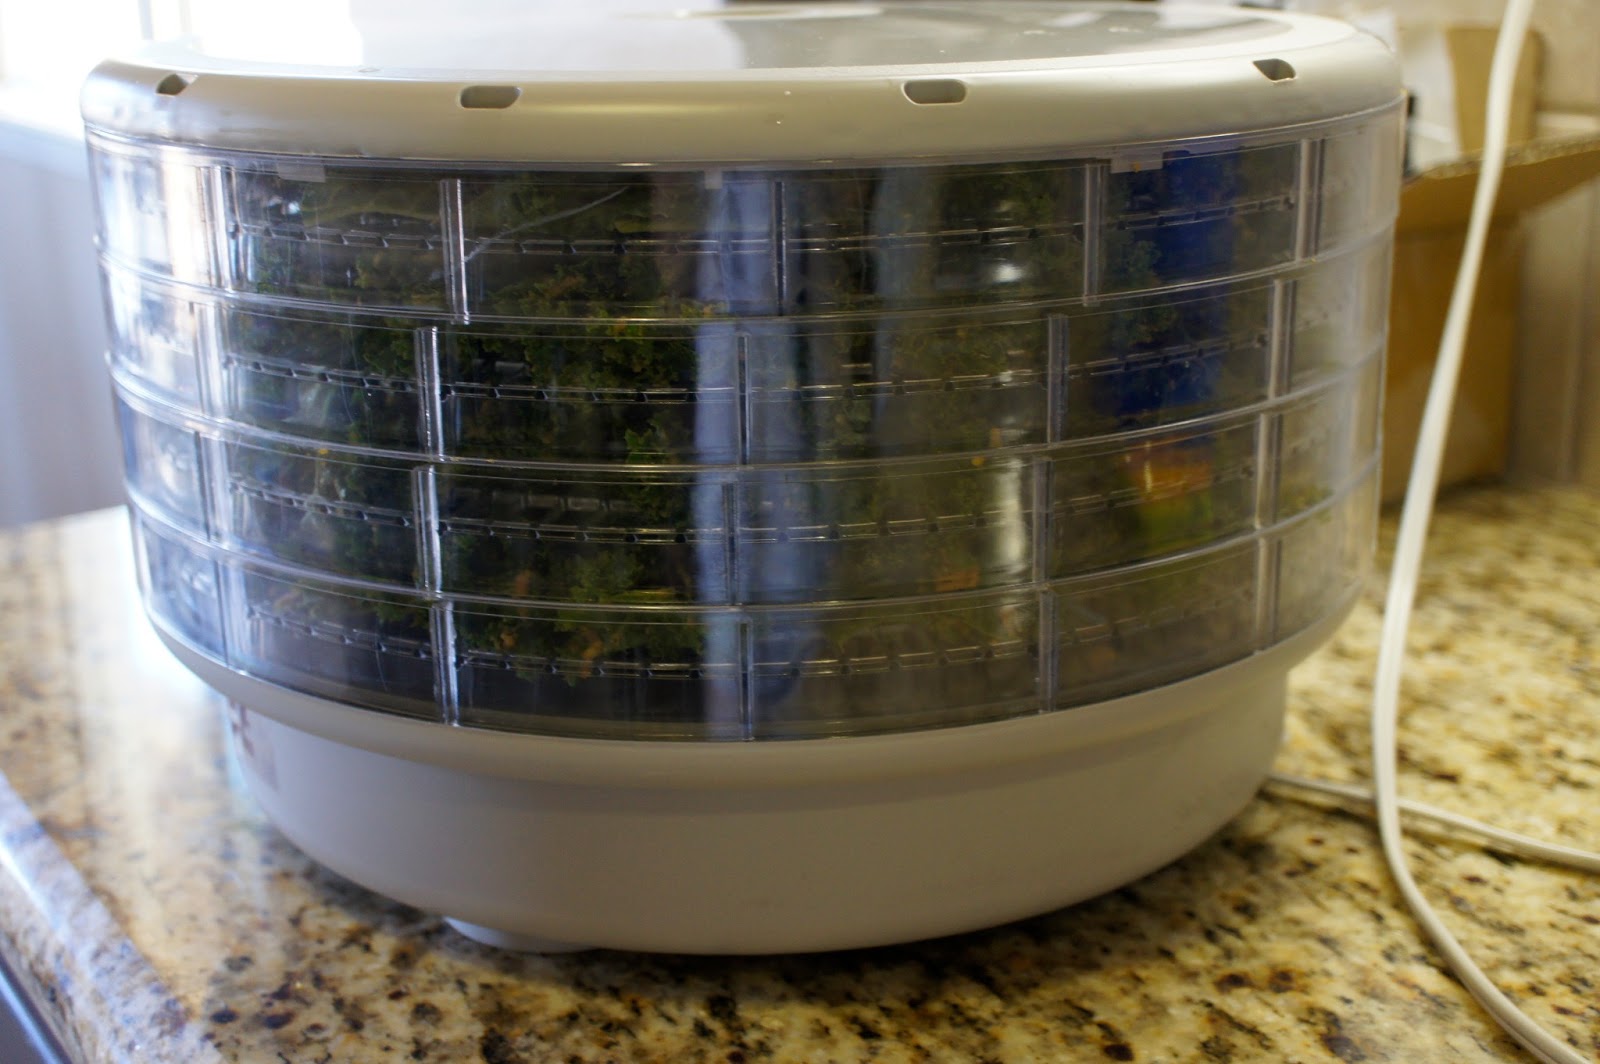
Plug it in and let it work.  Mine has one setting: On.  I have no idea how hot it gets, but I was done in 3-4 hours. You may dehydrate at a lower temperature for longer time period-- play with your settings and keep an eye on it.  I DO NOT recommended leaving it over night for your first try at this until you know what to expect from your machine.

And then.. that's it!

4 layers of deliciousness that probably won't last too long.
Try them with other nuts (or even without nuts, whatever!) and I'm sure it's just as delicious. 

Have you made Kale chips before?  What have your experiences been like? Would love to hear about it.

Love,
Lisa

lisaHQCD@gmail.com


Sunday, September 16, 2012

Making of He Qi Naturals Salves & Stuffed Zucchinis!

I always find process photos fascinating.. it's always interesting getting a glimpse of how things are made!

When I was making my Vanilla Lavender salve last week, I snapped a few photos and wanted to share them with you.

Everything begins with a super clean table-- I do this on my kitchen table that's covered with glass and I Lysol the crap out of it to prepare and get the surface clean.

I get all my ingredients and measuring devices ready, and of course make sure my recipe book is open to the right recipe.


I do keep a book with ALL of my recipes in them. Experimental ones included! It's kind of a bath/beauty diary :). The large block of wax is beeswax, the three little pieces of cream ish looking things are cocoa butter medallions :)

Everything get melted together, and when the temperature is right, I add in the essential oils.


And carefully pour into the individual tins:


Let cool naturally at room temperature, package and label... and we get our Vanilla Lavender salve!


I made some beautiful custom muslin bags to go with He Qi Naturals orders and decided it was time to offer a 3-lip balm gift set on my ETSY account:
I'll be soon adding it to the He Qi Website--- these make truly thoughtful and guilt-free stocking stuffers for the upcoming Holiday season!

About a week ago I also added another Charmed bracelet with pearl and bow:


And some cute Baubles in Pink and Peach:


In other news, the Tough Mudder is on the 29th of this month... we've been eating clean and working out with our usual fervor. One of the most recent, most delicious things I've cooked that's quite very healthy and nutrient + protein rich are these stuffed zucchinis:


Ingredients (use whatever you want, really, for your taste buds-- omit meat if that's not for you)
These are some of the things I used-- not pictured is seasoning (salt, pepper, minced garlic)

If eating meat is OK-- I HIGHLY recommend using bacon or panchetta in this-- it adds a lot of flavor and a little goes a long way.

I also used quinoa as a grain in the stuffing.

Feel free to prepare the quinoa up to a day in advance and store in the fridge. You'll be warming this up later.

Prepare your Zucchinies-- cut length-wise and scoop out the insides/cut them out, whatever is easier for you. I used a metal teaspoon and it worked beautifully.


Keep the innards of your zucchini and chop is up a little bit (not much), and also chop up your onions.


Preheat your oven to 400 degrees F.
Put some salt, pepper and olive oil on your hollowed out zucchini and place in preheated oven for 10 minutes. MEANWHILE, cook your stuffing!


Cook your panchetta or meat if you have any, and then add the onions and chopped zucchini.y67


I added chili peppers, you can flavor however you prefer.
Add in all the rest of your stuffing goods while your hollowed zucchini are baking in the oven.
This is quinoa added to the base of tomatoes, onions, zucchini, panchetta.


Take your baked zucchini out of the oven, and fill them generously with stuffing. You might having leftovers but I promise the stuffing is delish on its own :) (coming from someone who ate the stuffing by itself... hehe)


Gotta stuff them all...

Sprinkle cheese over the top if desired.

Return to oven for another 15 minutes at 400 degrees F. Broil for a few minutes to crisp up the tops if you desire.
And.. then you're done!!
And there you have it. A really awesome way of getting all your food groups into your diet and give you plenty of clean energy for your workouts.

I've realized over the last few weeks that the days are slowly getting shorter and it's darker when I'm up at 6.... hope everyone here enjoys the fall! I am so, so excited to be in a house this year and the Holidays are truly right around the corners. VERY exciting!!!

Lisa
heqicrystaldesigns@hotmail.com

Monday, July 02, 2012

DIY: Homemade Energy Bars - No Bake! Super Healthy.

The last 3 weeks weren't good for me fitness wise.

I had this weird kink in my lower back, which transferred to my hip socket. It literally took me out of commission for three weeks, so I couldn't work out. Whole time I just kept thinking "I'm too young for this to happen!!"

Needless to say I'm feeling a bit loose and out of sorts. I was officially able to get back to the regular routine 2 days ago, but still taking it easy and doing modified, lower impact version of some exercises until my muscles/nerves get better.

Turns out I had a bunch of muscles that locked up and gave out because I don't breathe properly and clench my jaw unconsciously. Bad! But all is getting much better now :)

Today I wanted to share my homemade power bard with you guys. With demanding workouts, we have to find high quality, lost lasting but easy to enjoy energy sources.

We have the option of buying energy bars but we decided that we try to make our own; this way we can control exactly what goes into it, and tweak it depending on our mood.

The overall idea of it is very simple:
Grind up a bunch of nuts, make into bars by combining with a fruit/honey/agave/nut butter glue. I'll explain in detail below.

So here are SOME of the ingredients I used. You can really get creative and use whatever you like-- we used only raw nuts, some almond butter, dried cranberries, vanilla extract for flavor, oatmeal, chocolate bits.. etc etc.

Step 1:
Combine all your liquid ingredients + dried fruit (I used cranberries, you can use any dried fruit you want) in a food processor and blend the heck out of them until they become pasty and very... very sticky and gooey. This will become the paste that holds your bars together!

For my paste, I used APPROXIMATELY the following ratio of ingredients:
- 1 cup dried cranberries
- 3 tbs almond butter
- 2 tsp vanilla extract
- 2 tbs honey


Yes, you will have to blend a while (on and off, took my about 10 minutes to make approx 1 cup of goop), and the motor in your blender may get hot. When things get stuck, I stop the mixer and shake things up..

At this point you may feel things are hopeless and that these items will never blend. Persevere. It will come together. If you feel like your blender is going to explode, you have the option of adding 1-2 tsps of almond milk.. you be the judge of how much.


I add a little almond milk, blend a little, see how it's coming together. This is the hardest part, I swear! You want a thick, really sticky goop.

Yeah, keep going...
And when it looks something like this:
Your fruit glue is ready!

Now throw it into your hand mixer. Trust me, you're going to want a hand mixer for the next part. A lot of  blog posts I've read suggest kneading it by hand. I'm going to save you the the trouble now and tell you that it is immensely difficult to "knead" this by hand because the "dough" is SO , SO dense.

Fruit Glue goop!

Not super appetizing, but it's okay cuz you won't see it for long.

Now take all your whole nuts, and grind them in the same mixer (with goop and all) until they are pretty fine-- the finer the bits are, the easier they adhere together to create the base for your bar.

Blend until it looks like a flour, almost:

Put the ground nuts into your mixer. Secure the mixing attachment.


First thing I added to my fruit glue and ground nuts is almond meal (which is just ground almonds, very fine!) and ground flax seeds.

Add cocoa powder at this point if you'd like.


For dry ingredients, use as much as you can so that everything still sticks together as a dough-- the amount is dependent on how much fruit glue is made and you can judge this by eye/feel. You will have to experiment with this, but I assure you it's not hard and you will know. If the dry ingredients have stopped incorporating, you've added too much, and I suggest you dribbling in a bit of almond milk to help it come together again.

This dough is TOUGH and will seriously clump up (in a good way!) You want everything to stick together without you having to press it together.

To ensure all your ingredients are well mixed together, clean out the mixer attachment every once in a while to let everything reincorporate.

Let your mixer to its thing. Set it on STIR (low), and allow it to whirl. 
I do love my Kitchenaid. It's one of the common kitchen gadgets I use often.

Once your mixer is ready, line a pan with parchment. This really helps cleanup afterward and makes cutting your bars easy peasy.


Dump your mixter into the pan and PRESS HARD.
Use them hands!! Press em real hard into the pan.

And the final product....

Stick this in the fridge for 2-3 hours before eating for everything t o stay together.

Cut, and serve!

You won't need to eat a lot to feel satisfied, and it's so delicious. Honestly, this is filled with nothing but good nutrients and clean energy for your body. I personally eat a 1x1x3 inch rectangular block, and it completely fills me up for hours.

The best part about things like this is that it's so easy to make, and keeps really well so spend 30 minute a week to make enough for 3 people to last for a week. It's so worth it. You'll know exactly what you're putting into your body!

The weather has been so nice, and we are so close to Tahoe that we went to Angora Lakes last weekend!

Drive is about 2 hours, and we went for a day trip.

We packed sandwiches, rented a little boat and paddled to the middle of the lake to enjoy the wonderful day
On the He Qi front, I have been busy creating new formulations!

New Lemon Green Tea sugar scrub

And new Chocolate Sugar Scrub CUBES:

These lather, because they have shea butter soap in them, so they are a cleanser :)

Lovely Vanilla Body Butter (A new favorite product of mine, actually :) )
^ This has actually become my new go-to moisturizer for the body. It smells amazing. It's available in a half size if you would just like to try it out :)

And some new Botanical Bath Salts
Since my back has been weird/muscles are stressed I have used the above bath soak; such a relaxing experience.

There are also a few new creations on the jewelry front but I will leave that for you to discover on your own.

He Qi website also got a facelift! The new layout is cuter-- I hope you like it as well!


I also FINALLY got Instagram. Joining the tech age, hahahha. It's so fun so far, the filters on the camera are so awesome-- makes all photos look great. My username is lisaHQCD in case anyone wants to follow :) This is my new addiction so you might see quite a bit of photos at first... 

That's all for now. Thank you for dropping by today!

Lisa
heqicrystaldesigns@hotmail.com